As a self-proclaimed AI aficionado, I'm head over heels for artificial intelligence, particularly when it moonlights as a workload whisperer or an artsy muse. Today, I will show you how to install Stable Diffusion on Windows.
You've heard the grapevine chatter about the gazillion AI image-generation tools. But DALL-E 2 and Midjourney take the cake as the cream of the crop.
DALL-E, the cheeky rascal, makes you cough up USD 0.13 for one prompt (3 vivid pictures), while Midjourney has you sign your soul away to a subscription, costing an extraordinary USD 30.00 each month for unlimited usage.
But hold onto your hats, folks! What if I let you in on a little secret—that you can whip up equally fabulous, and sometimes even more jaw-dropping, images for the sweet price of FREE using your trusty ol' PC?
Enter the one and only Stable Diffusion!
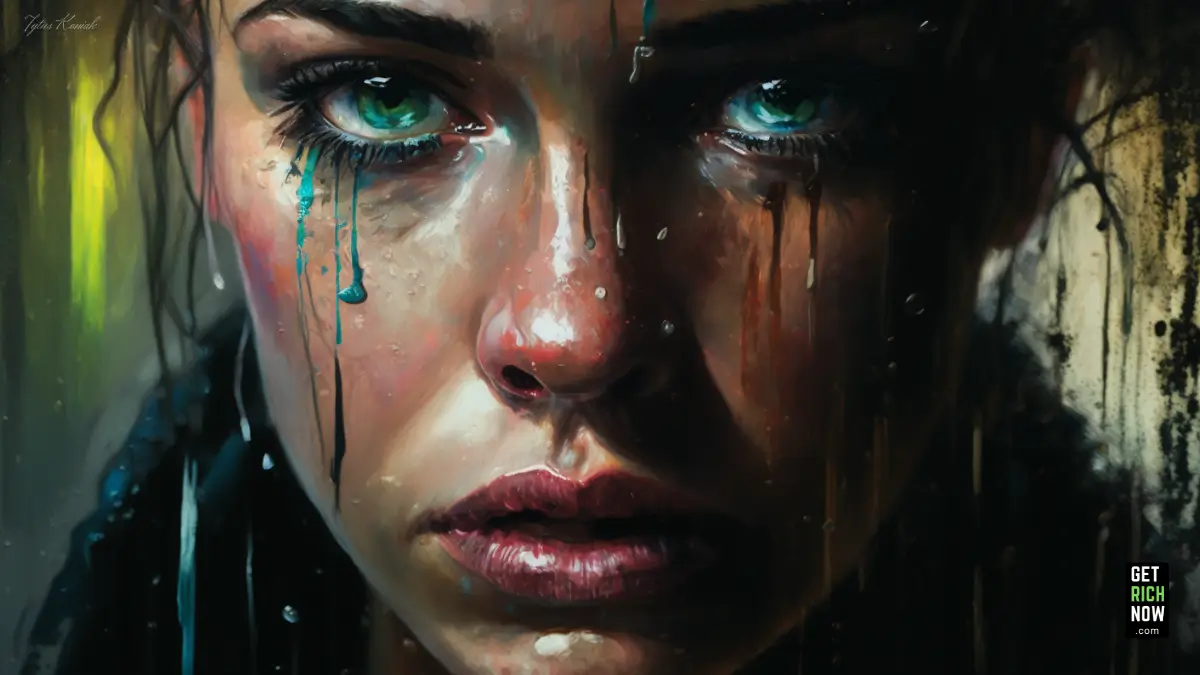
Are your eyebrows hitting the ceiling in disbelief? Well, feast your eyes on these samples, crafted with love and zero dollars, courtesy of my very own computer:


Install the Stable Diffusion installation guide, and you can create images like those shown above.
I hope this proves it, so let's get straight into it without further ado.
Disclaimer: You will need a sound graphics card. I'm running an GTX 3070, and generating images over 512×512 makes the GPU run out of memory.
Step 1. Install Anaconda
Source: anaconda.com
Anaconda distributes Python and R programming languages for scientific computing.
The download and installation should be straightforward, but there is an important step you have to do: check the box for adding Anaconda to your PATH environment variables.

Step 2. Install Git
Source: git-scm.com
Git is free and open-source software for distributed version control.
No special requirements for the installation.
Step 3. Git clone the stable-diffusion-webui repo
Disclaimer: A restart might be needed for Anaconda/Git to work
Source: github.com/AUTOMATIC1111/stable-diffusion-webui
Open your CMD, cd (how to) to the folder you'd like to clone the above repo to, and type “git clone https://github.com/AUTOMATIC1111/stable-diffusion-webui” in your CMD.
The cloning should not take long, as the files are not large.

Don't worry. The repo is virus-free. With 13.1k stars on GitHub it should very well be, but just to be completely sure, MalwareBytes goes into action.

Then, You can close your CMD.
Step 4. Download the Stable Diffusion model
Source: huggingface.co/CompVis/stable-diffusion-v-1-4-original
You will have to create an account on HuggingFace before being able to download the model.
Once you've created the account, download the sd-v1-4.ckpt weight.

The file will be 4 GB, so ensure you have enough space.
Again, with its popularity, we shouldn't worry about viruses, but let's be sure. MalwareBytes, what do you think?

Step 5. Add the Stable Diffusion model to the WebUI kit we cloned
Sounds hard? Well, it's not.
Go to where you cloned the repo in Step 3
Go to the following folder:
stable-diffusion-webui ⇒ models ⇒ Stable-diffusion, and paste the sd-v1-4.ckpt file we downloaded in Step 4.

Step 6. Open the WebUI kit and have fun!
All you have to do now is to go to the main “stable-diffusion-webui” folder and open the WebUI kit by double clicking on webui-user.bat file.
When you do it for the first time, it will take a few minutes because the dependencies the kit requires need to be installed, after that the kit will load pretty fast.
Once the kit loads, it will provide you with an IP address.

Copy that address and paste it into your browser.
That's it. You now have a full version of Stable Diffusion, right there on your computer for you to use anytime you want, for FREE!

That's it, folks. This is how you install stable diffusion on your Windows computer.
I won't go into everything you can do with the webUI kit, which you can try on your own.
But, to get your feet wet, write something in the “prompt” input area, then click the big orange “Generate button”. Magic will happen.
I hope this helps some of you have a more leisurely start in AI!
Happy generating!
Don't forget to check out the Art category on GetRichNow and learn how to make money with AI

4 Terrific Ways to Profit from AI Art
https://www.youtube.com/watch?v=vCtuagjE-4Q Intro: When Technology and Creativity Get Cozy We're living in a crazy period when technology and creativity are mingling, giving rise to AI art. It's like a cross between Picasso and a supercomputer. Every artist or wannabe…

Unlock Your Inner Creativity: Become an AI Artist
How to Become an AI Artist: A Step-by-Step Guide Unlock Your Inner Creativity: Become an AI Artist. Have you ever considered using artificial intelligence to tap into your inner creativity and become an AI artist? The confluence of…
The Best Platforms For Selling Your AI-Generated Art
Where to Sell AI-Generated Art in 2023 Artists have been trying to figure out how to use AI to make new kinds of art. As AI technology keeps getting better, more and more artists are using art created…

15 Ways to Sell AI-Generated Art and Get Rich Now
Introduction AI-generated art has become increasingly popular in recent years, and many artists and entrepreneurs are looking for ways to capitalize on this trend. Selling AI art can be lucrative, but knowing where to start can be challenging….

Midjourney for Beginners: How to Make AI Art
The epoch of AI-produced artwork is now upon us. Many people on the internet are trying to find the best ways to tell AIs how to make the right images or maybe even the wrong ones. It sounds…

Install Stable Diffusion Guide – FREE Image Generation for Profit
As a self-proclaimed AI aficionado, I'm head over heels for artificial intelligence, particularly when it moonlights as a workload whisperer or an artsy muse. Today, I will show you how to install Stable Diffusion on Windows. You've heard…


